
1. Click the “Add New Question” button on your Short Answer dashboard.

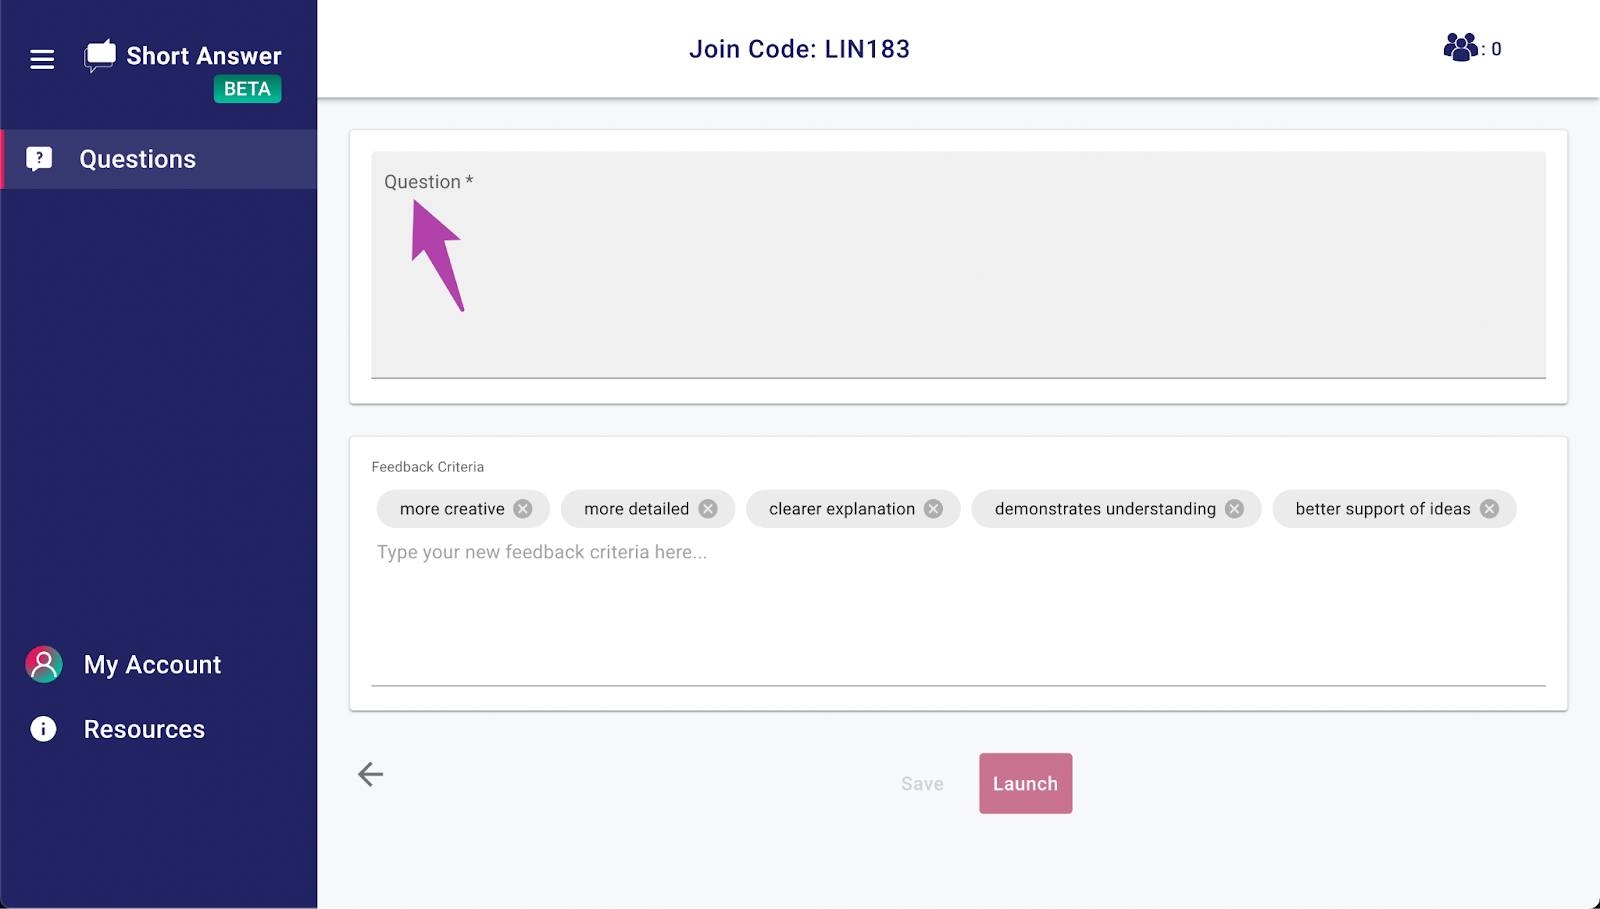
2. Next, type your question in the question field at the top of the page.
The best questions are open-ended and ask students to justify opinions, analyze material, articulate a thought process, or evaluate a claim.
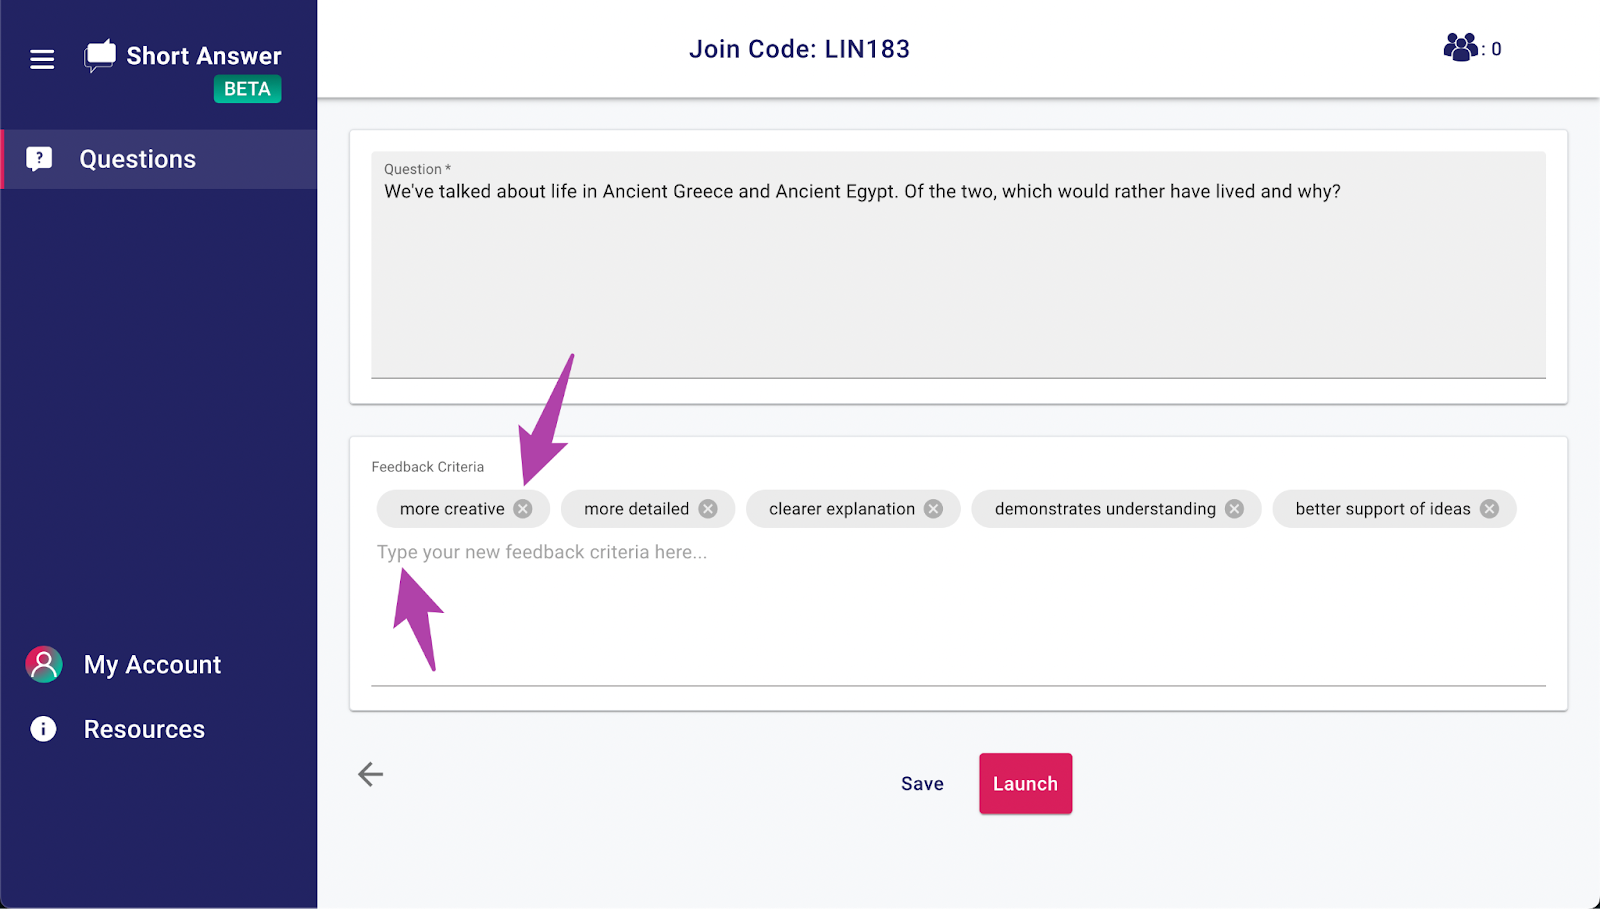
3. At this point, you can customize the feedback criteria for your new question.
Remove a default criterion by clicking on the “X” next to the criterion.
Type in your own criteria of choice and press Enter/Return to save it. The best feedback criteria are positively oriented and emphasize that students have to make a choice about assigning feedback.
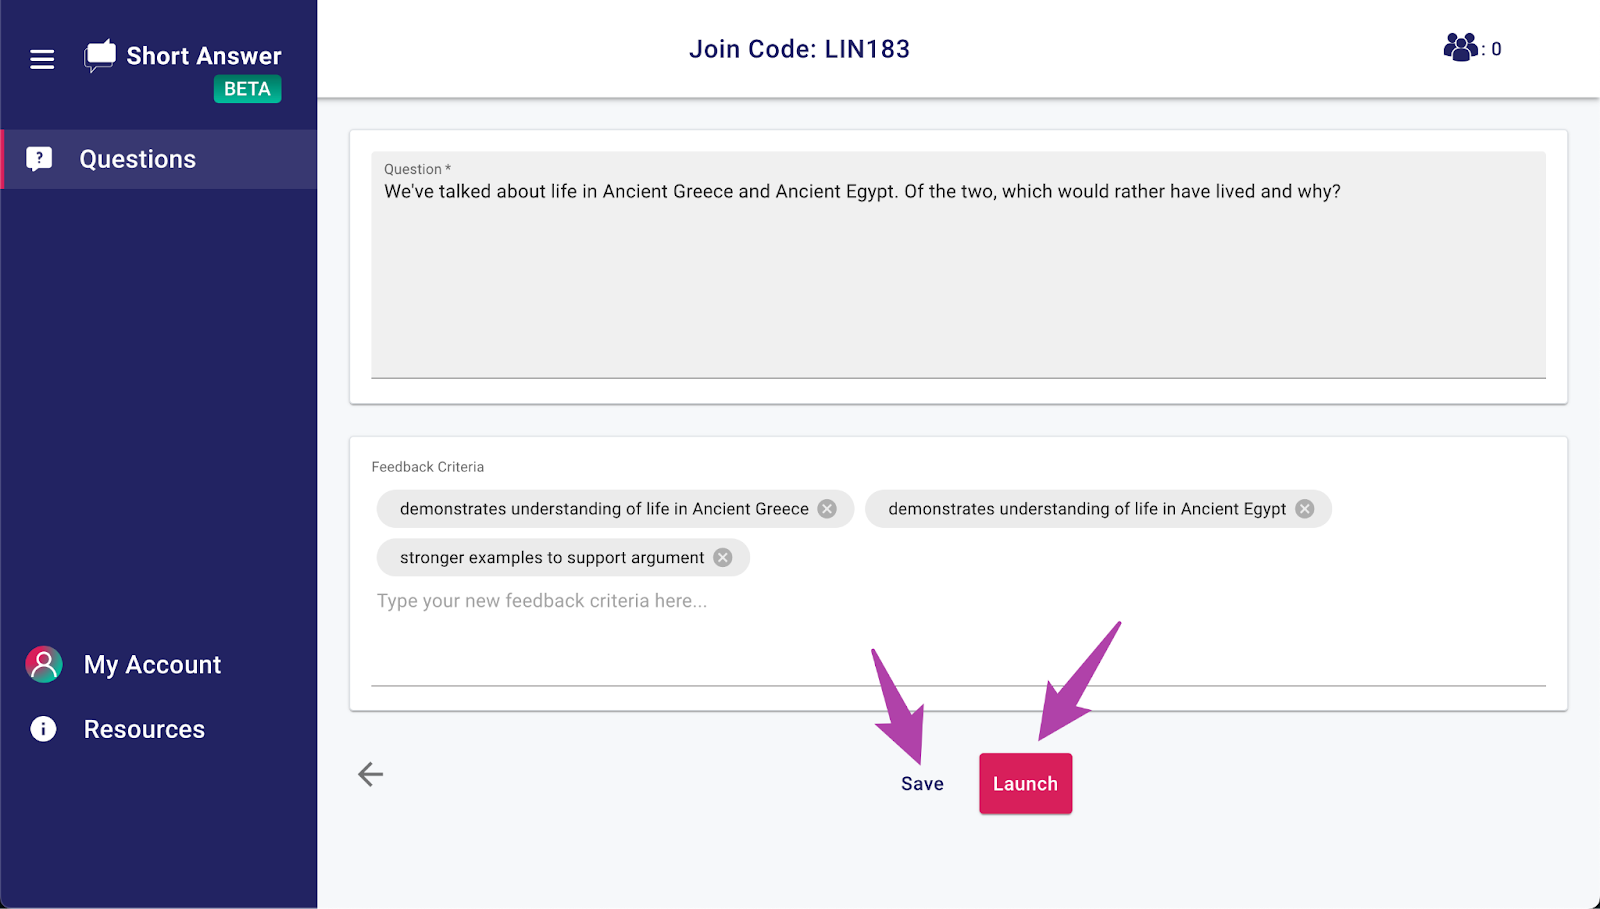
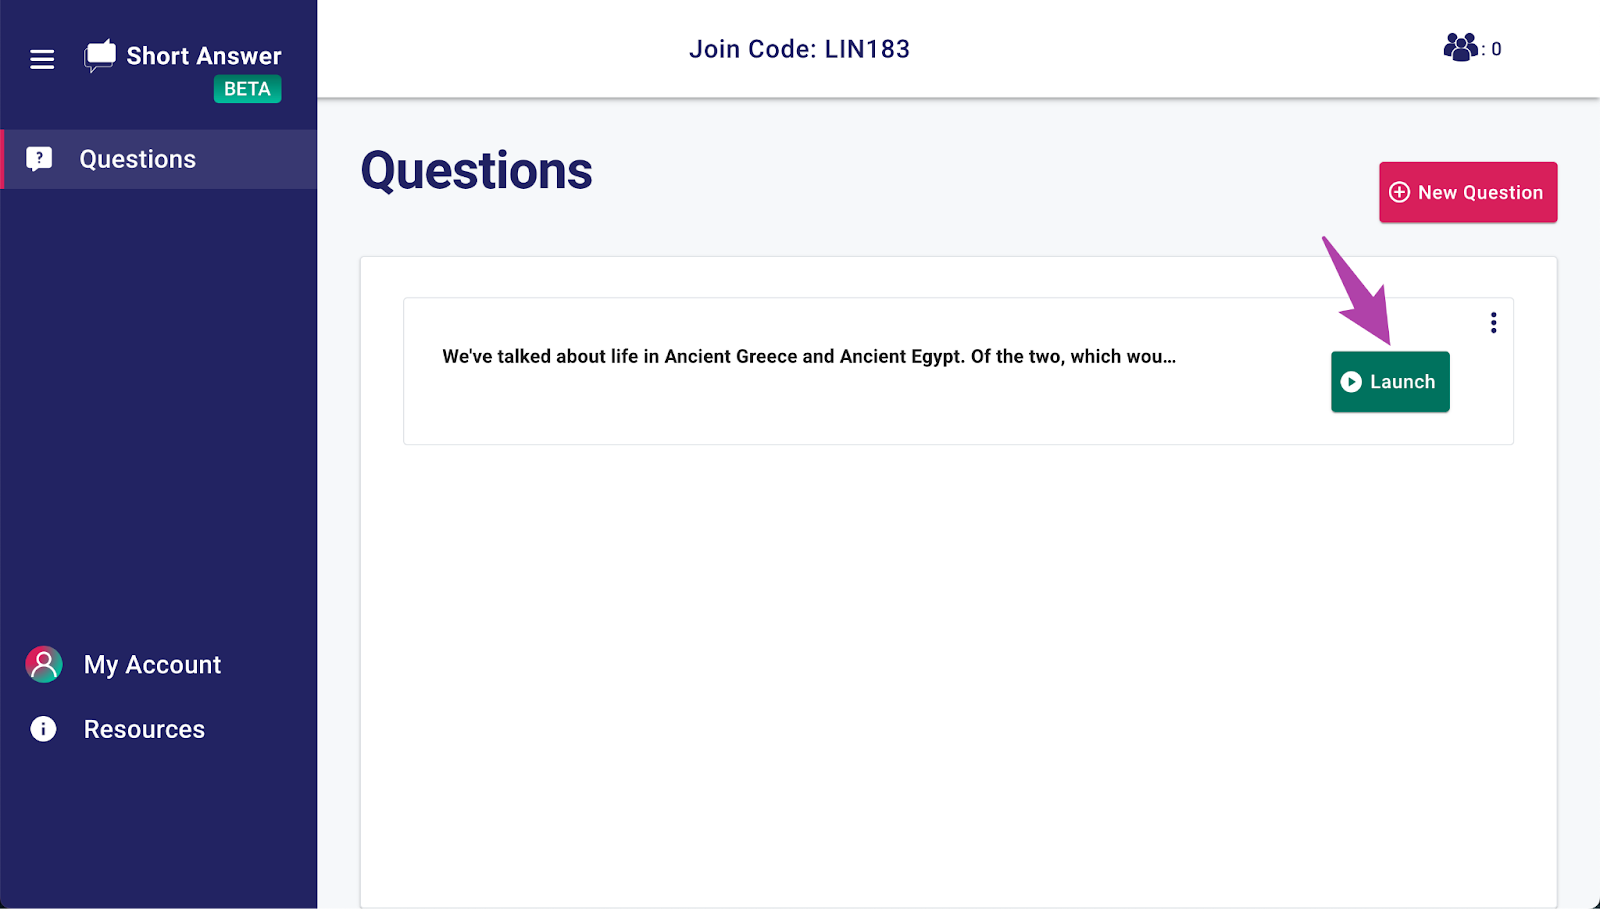
1. To start an in-class activity, click the “Launch” button.
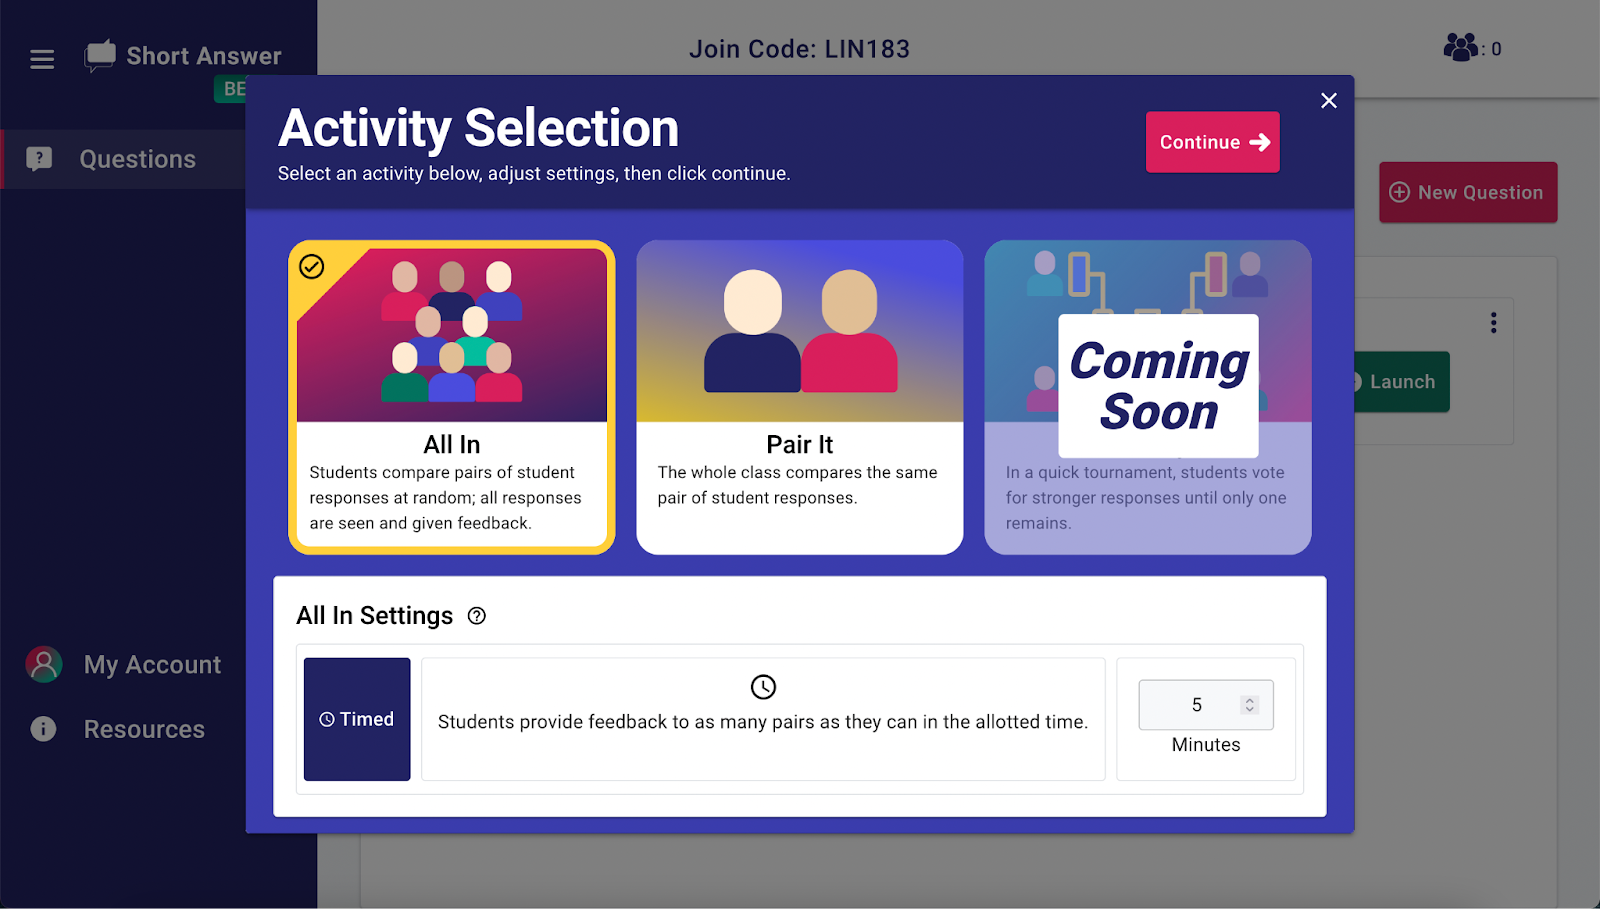
2. There are a couple different activities you can select:
• All In enables every student to get feedback on their work. You can watch a quick video on All In here.
• Pair It lets you choose specific pairs of student responses that the whole class gives feedback to. You can watch a quick video on Pair It here.
For this guide, we will assume that you chose All In. If there are settings to adjust for the activity, you can adjust them on this screen. Click “Continue” to start the activity.
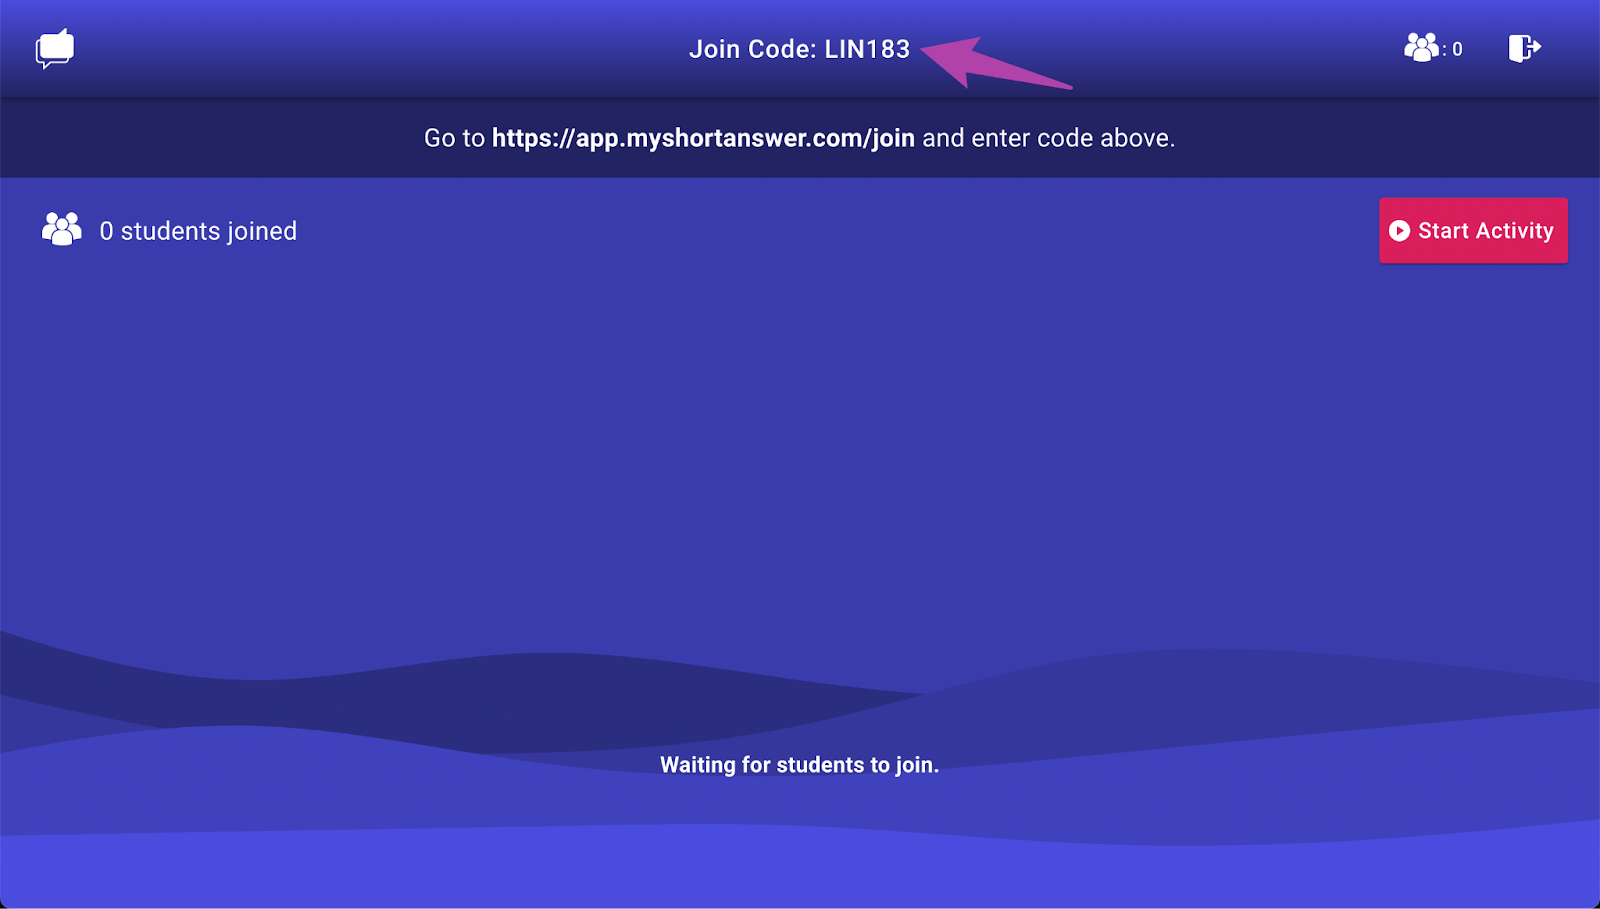
3. Now, students will join the activity. Students should go to https://app.myshortanswer.com/join and enter your Join Code. You can also click on your Join Code to open a larger display of your code.
You will be able to track the progress of which students have joined here.
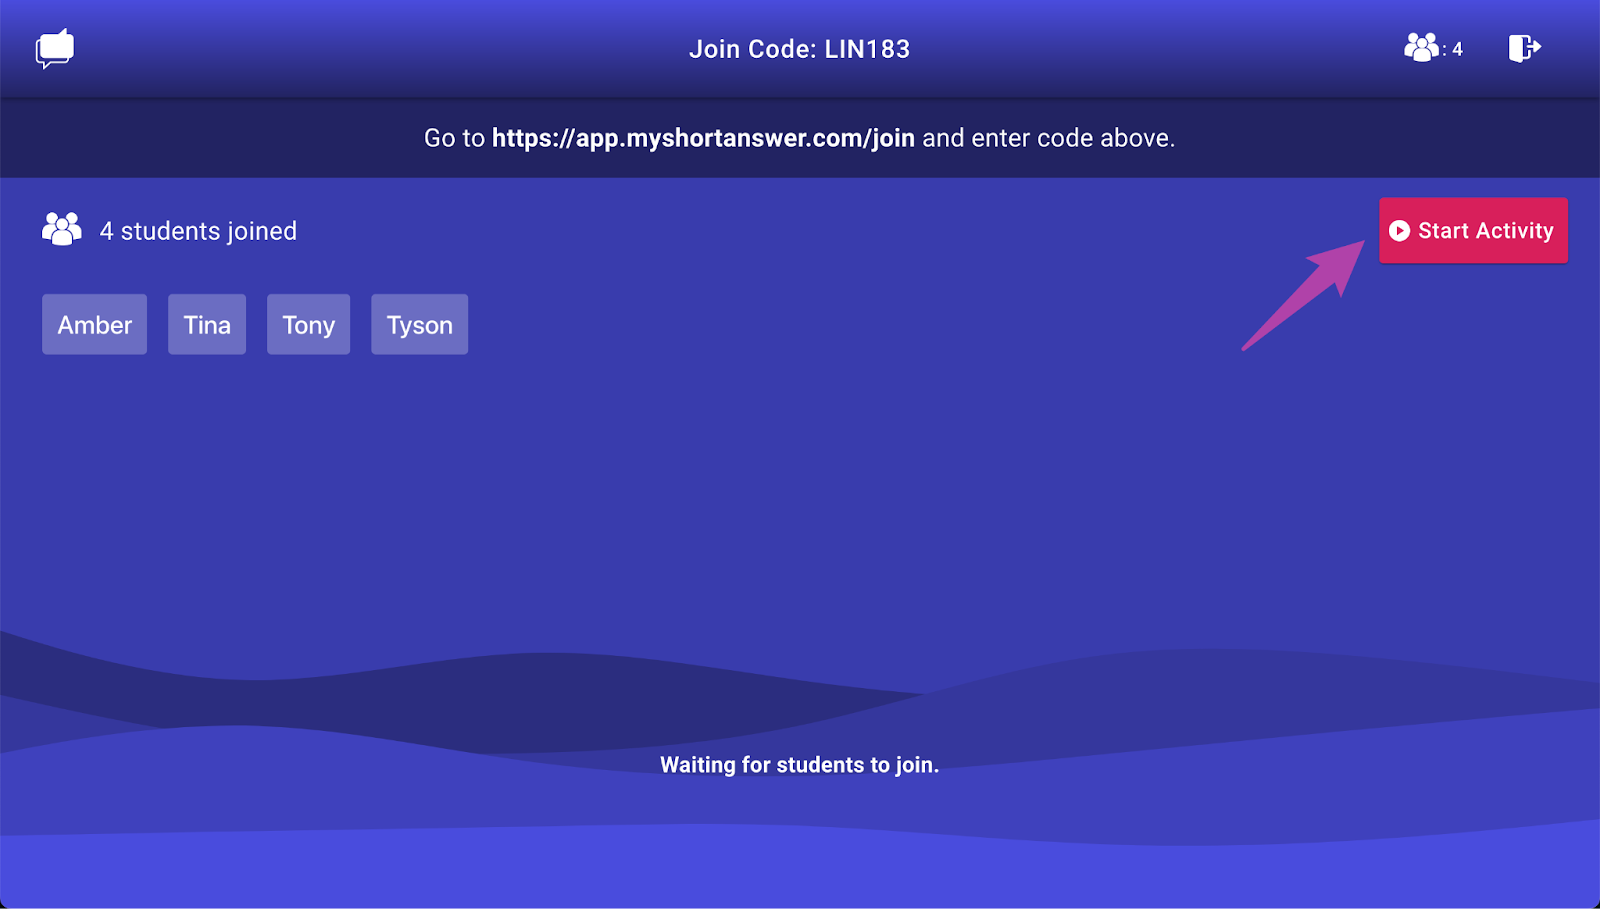
4. Once all students have joined, click “Start Activity” to continue.
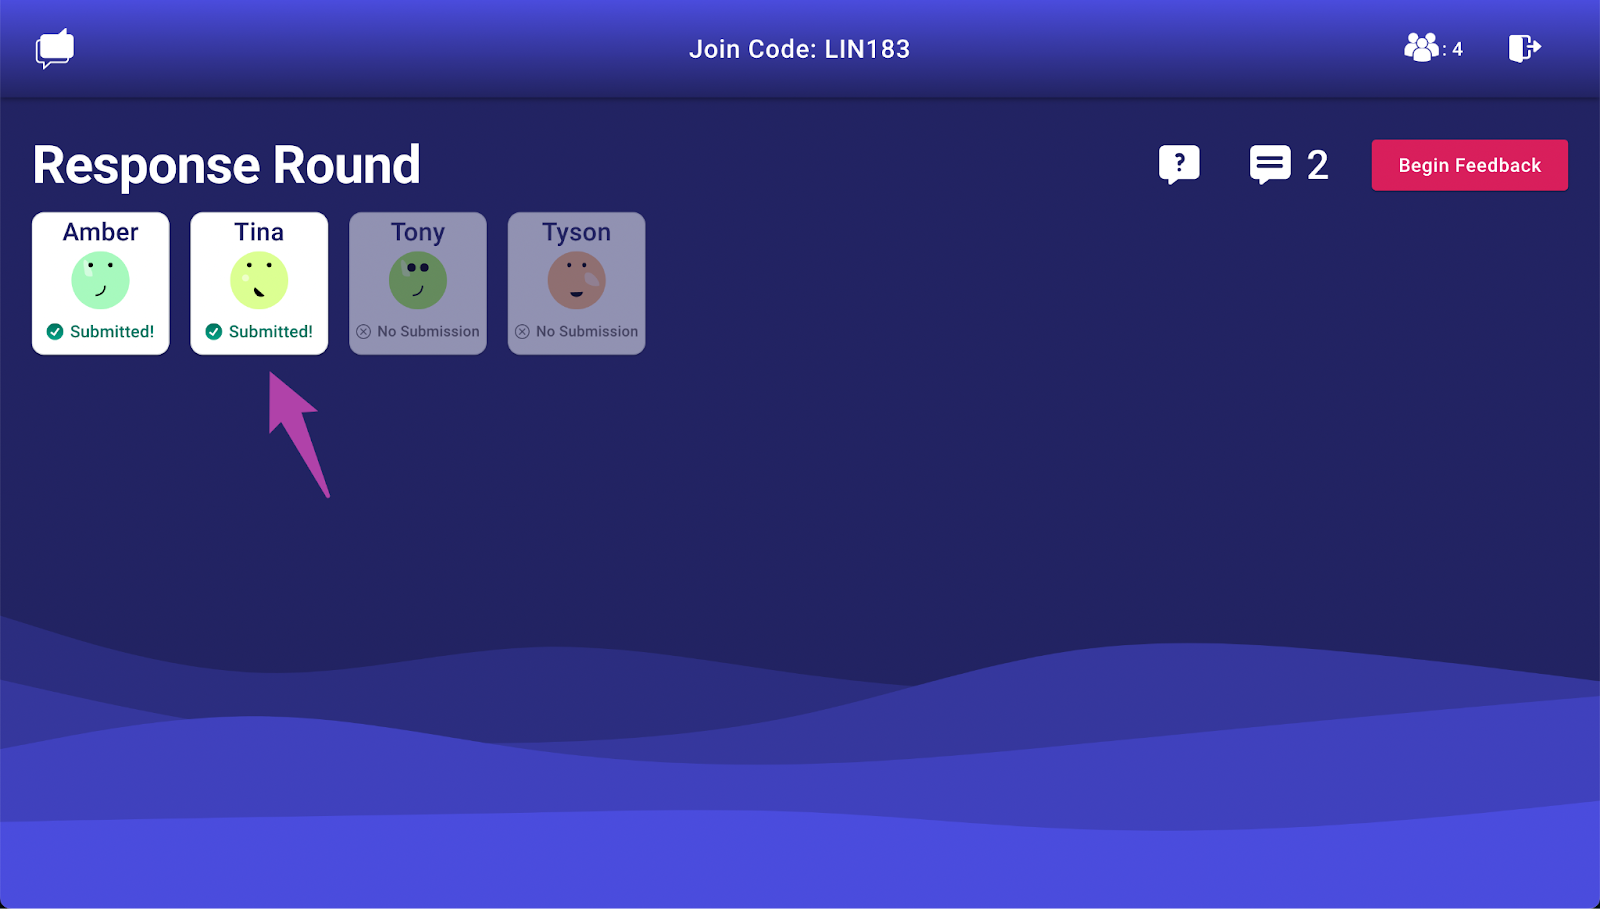
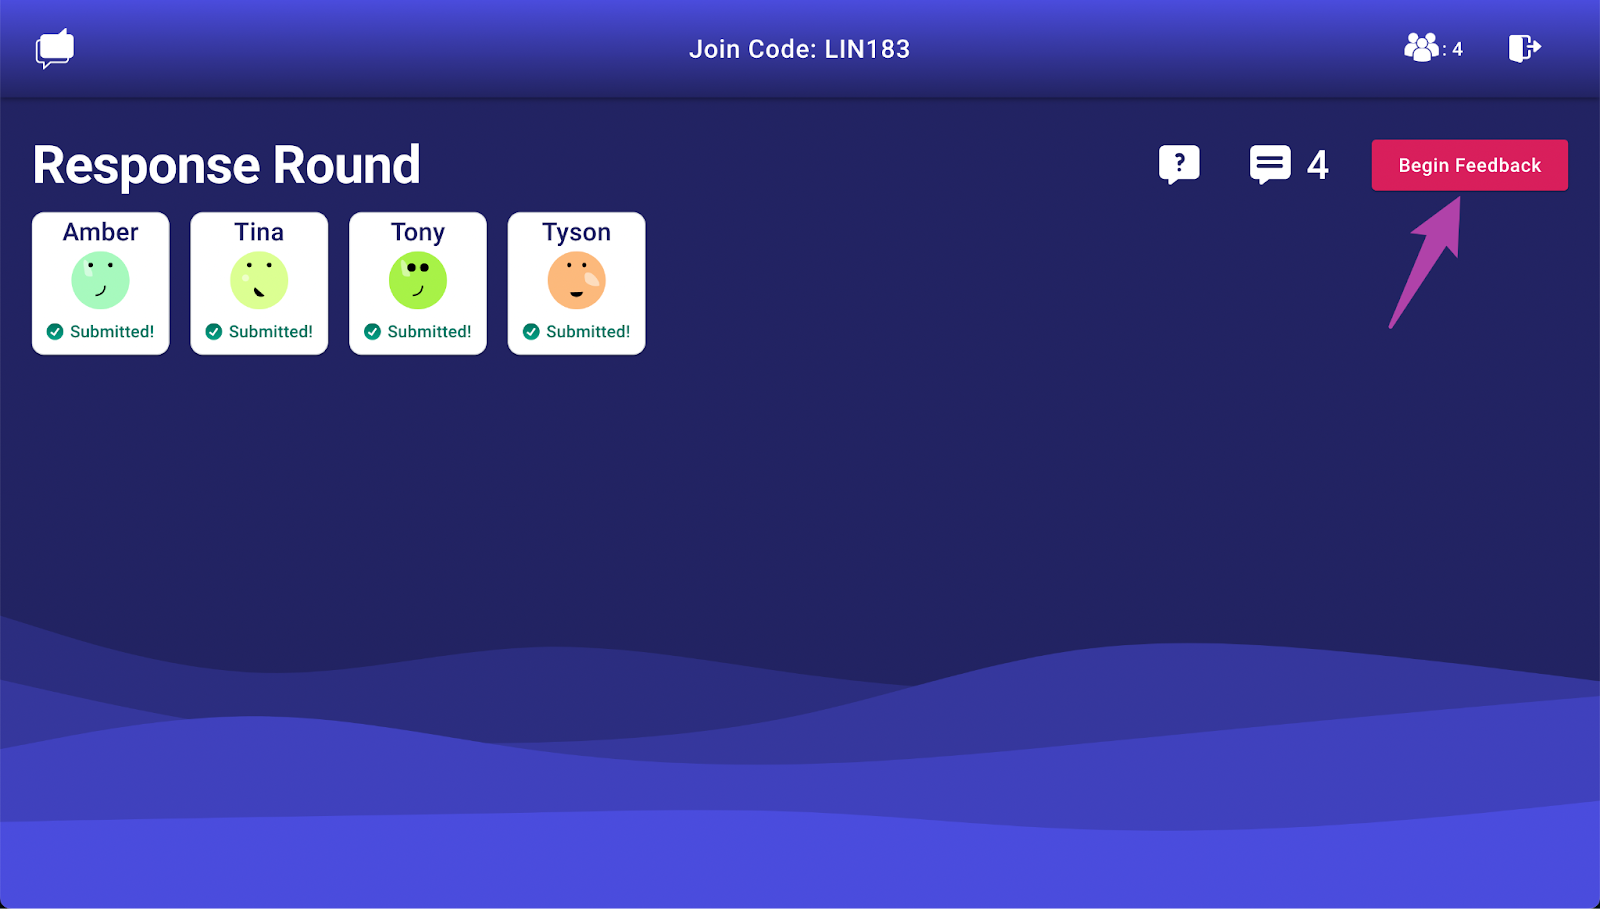
5. At this point, students will begin writing their responses. You can see who has and has not submitted a response yet.
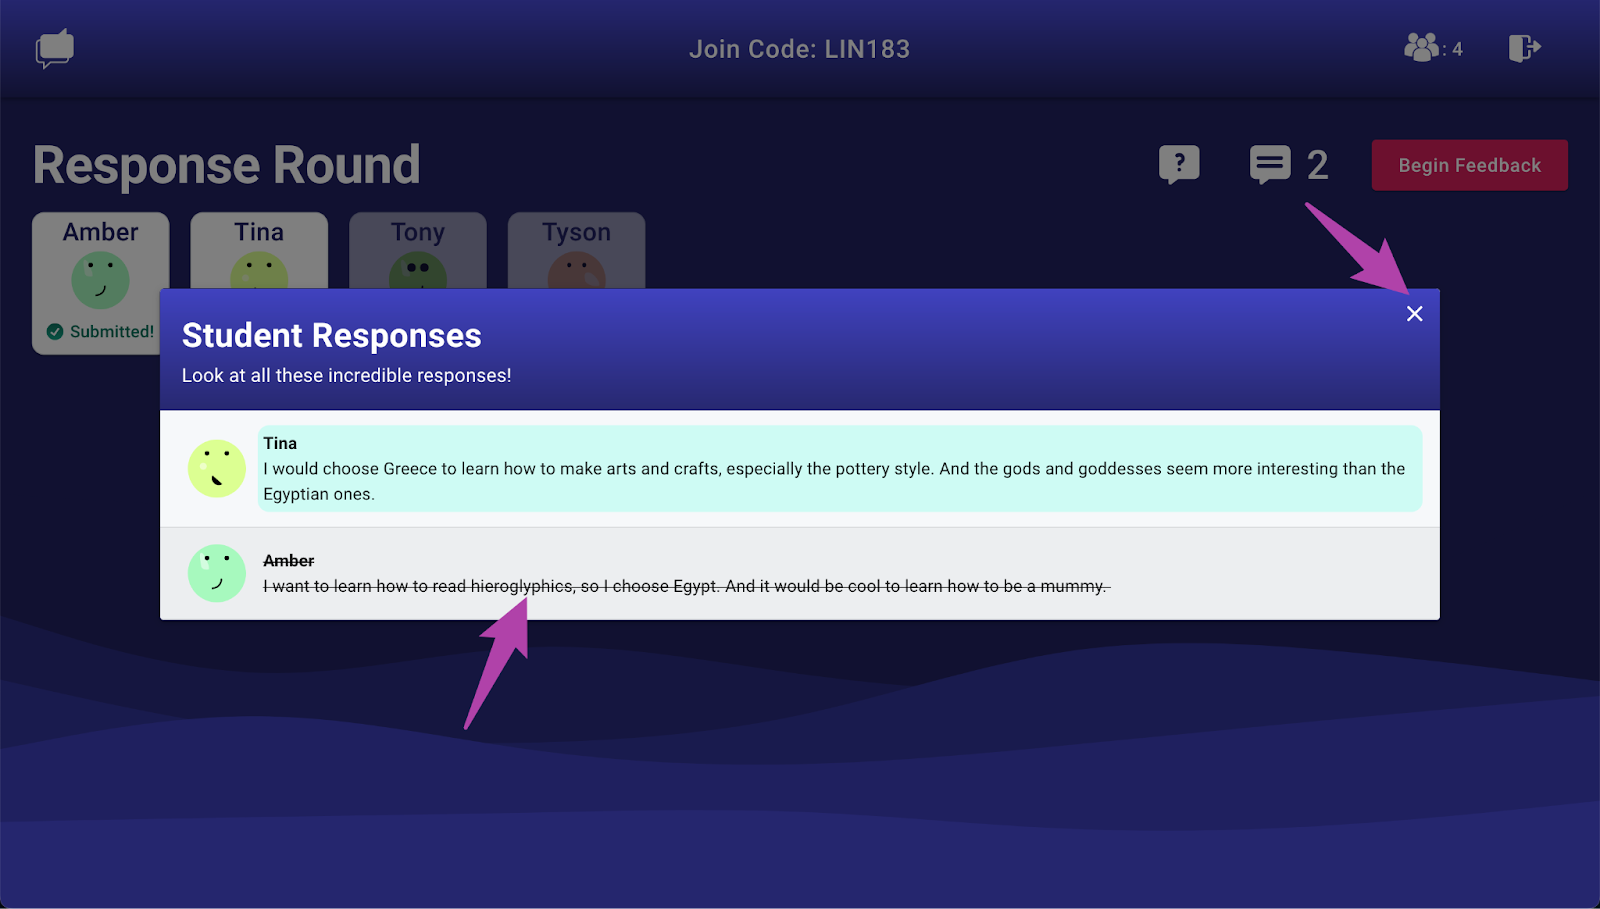
In addition, you can click on any of the submissions or the Response icon at the top right to see the student responses so far.
6. If you want to remove an unwanted response, bring your mouse over it so the strikethrough appears and click the response. You can undo this action for a brief period of time.
Click the “X” to exit the Student Responses window.
7. Once all students have submitted their responses, click “Begin Feedback” to start the student feedback stage.
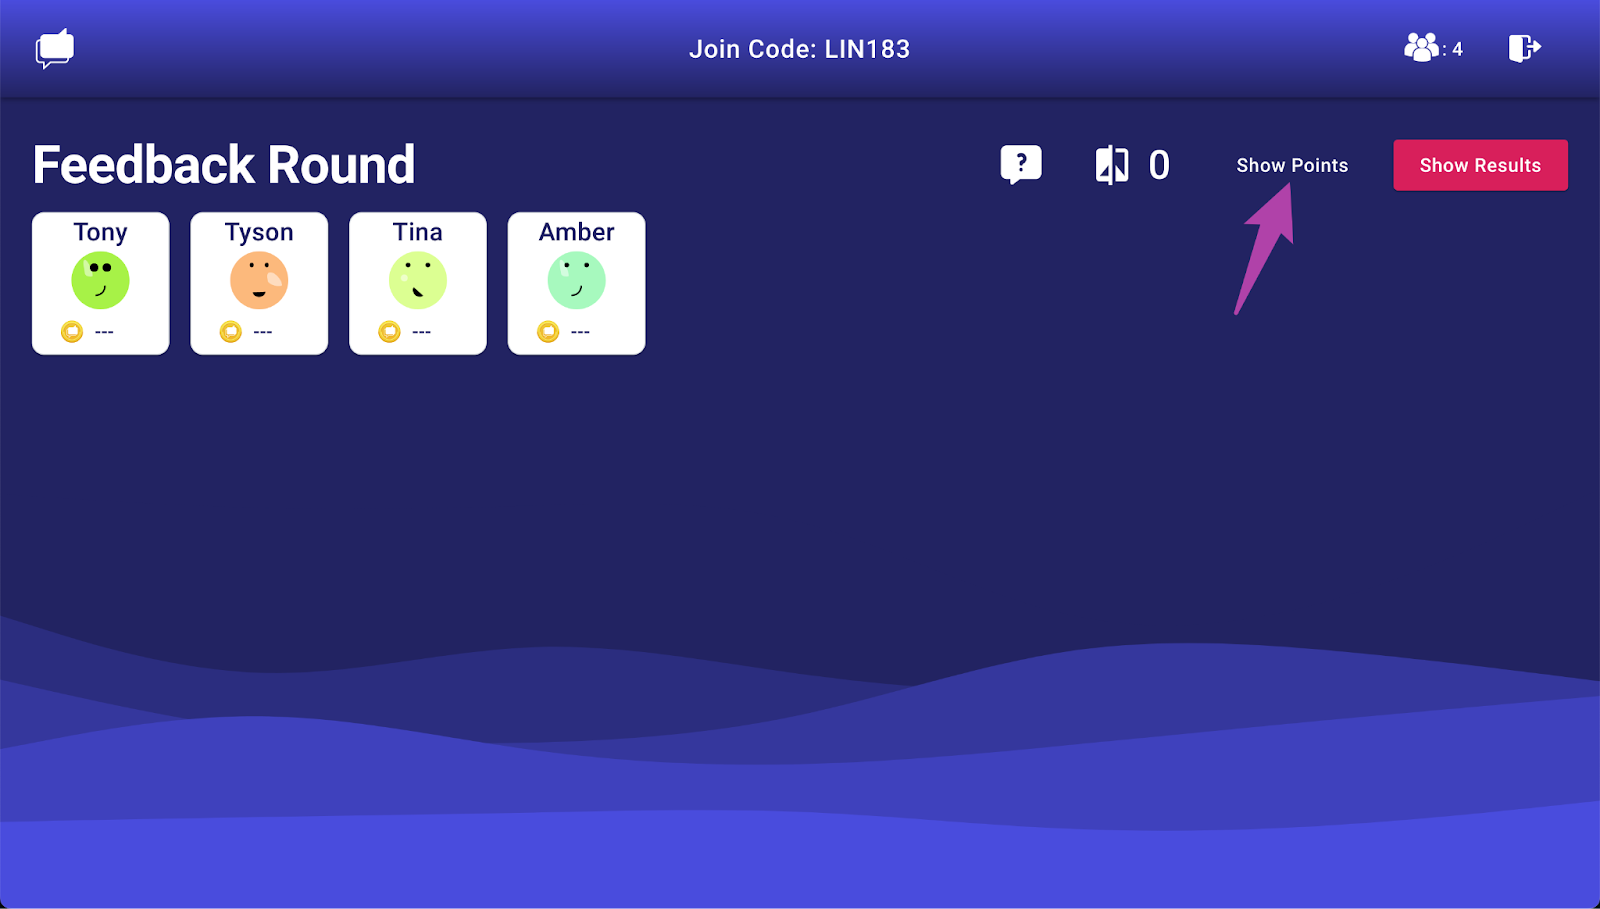
8. While students are giving feedback, you can choose to show or hide the points that students are getting from their peers.
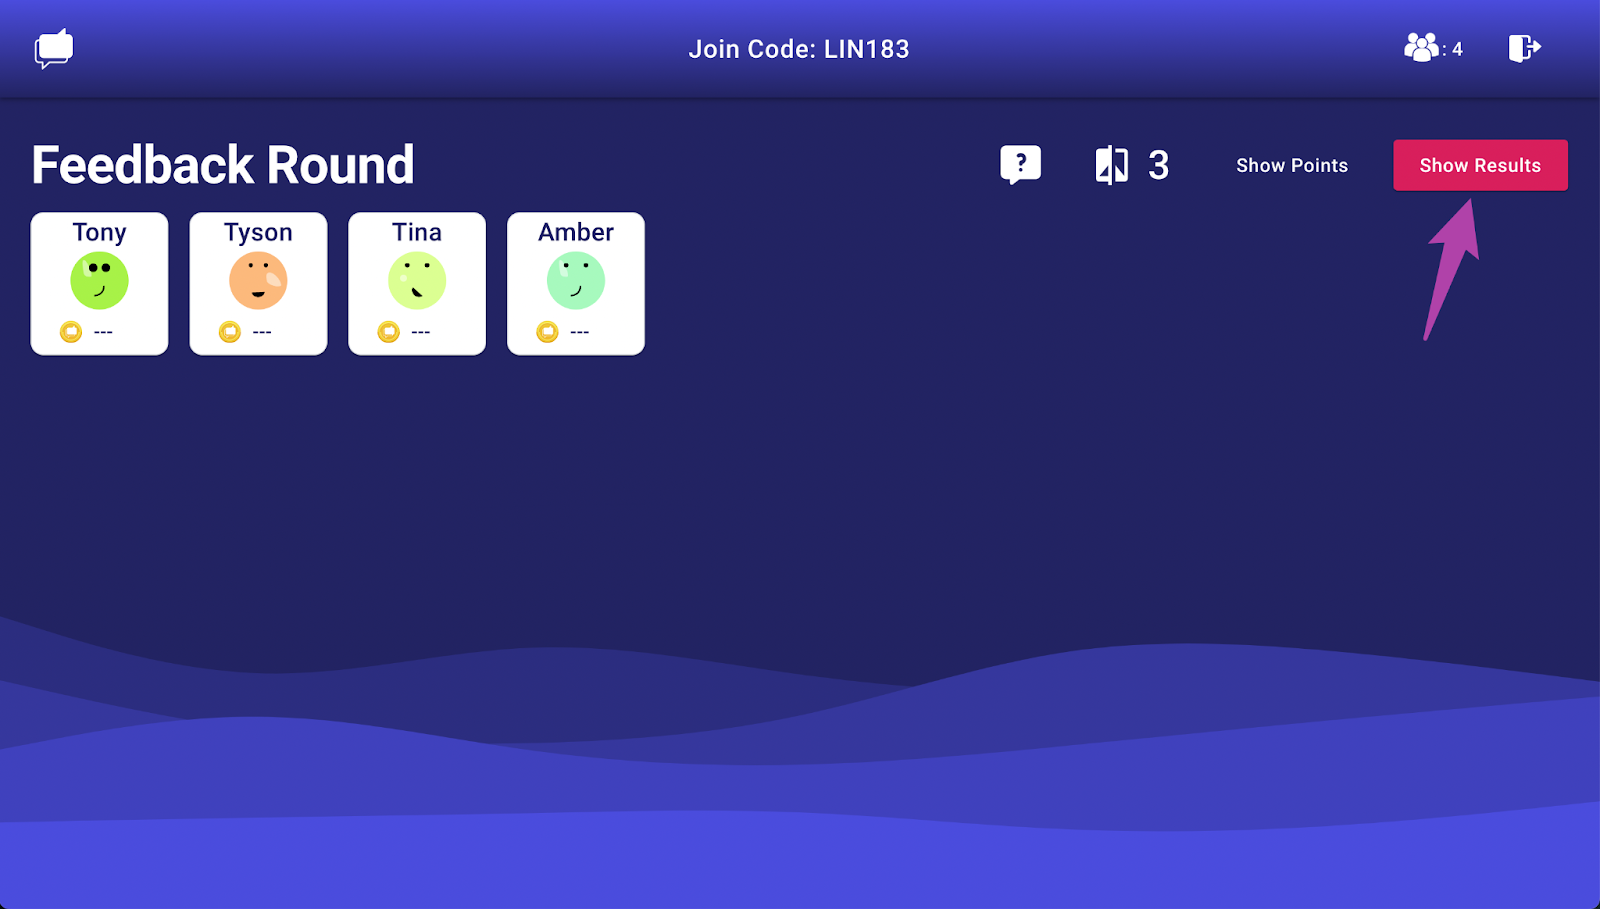
9. Once enough time has passed, click “Show Results” and discuss the results with your class.
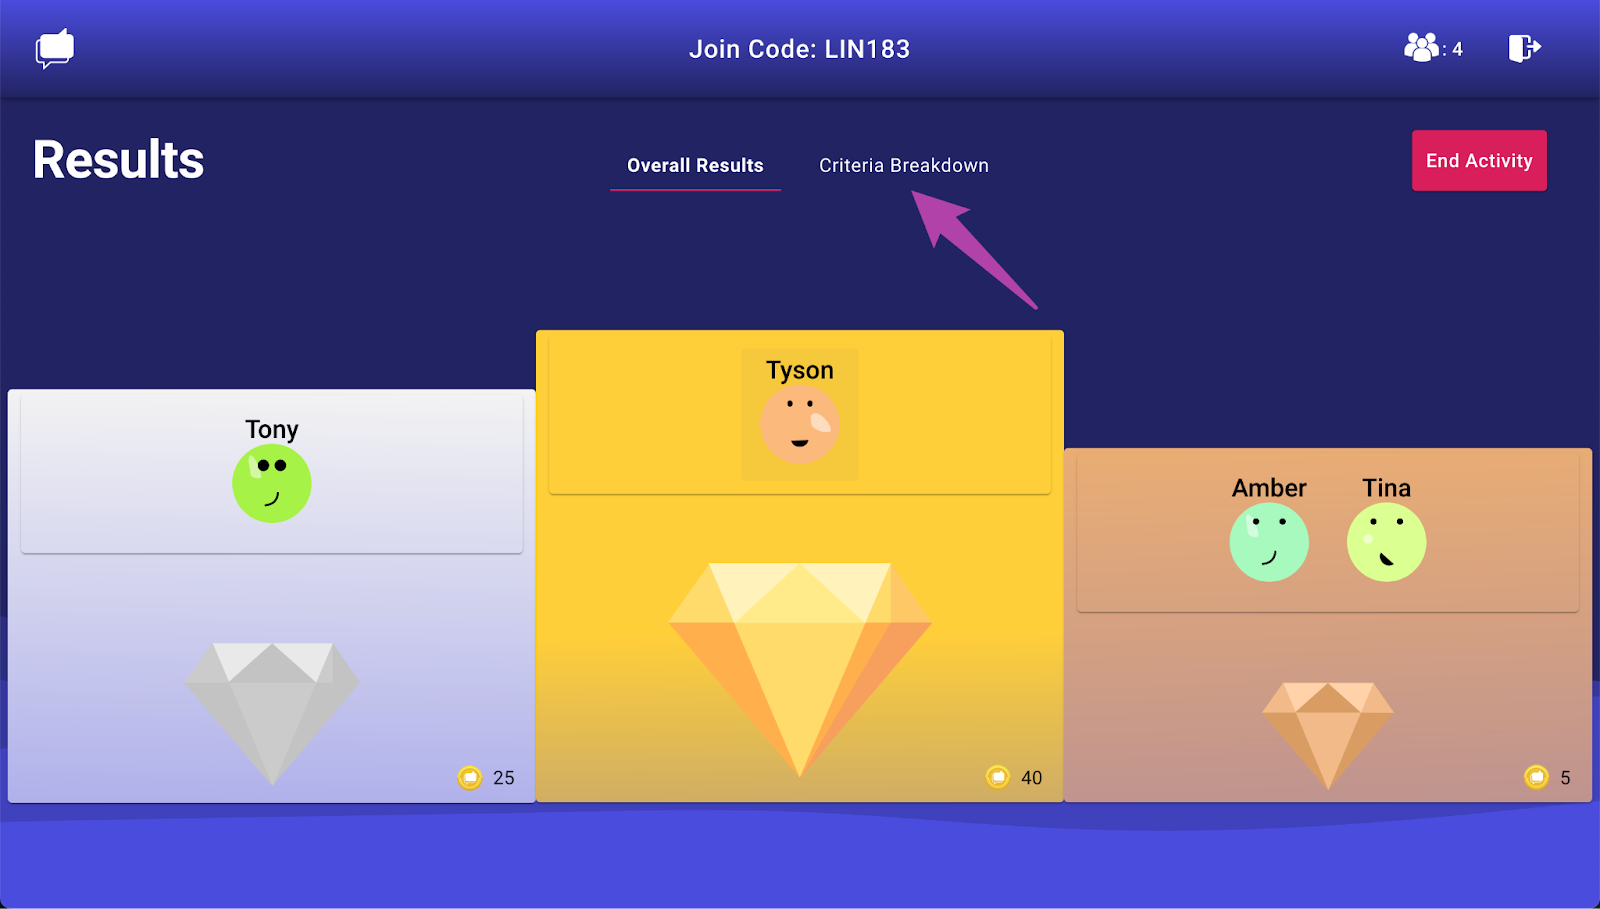
10. On the results page, you can click on any of the top responses to display them to the class. This is a great opportunity to have a discussion with your students about what makes for a good response. Click “View More” at the bottom of the screen to see student responses that are not on the leaderboard.
At this time, students see a personalized feedback report on their own screens.

11. You can click “Criteria Breakdown” to view student responses along each of the feedback criteria.
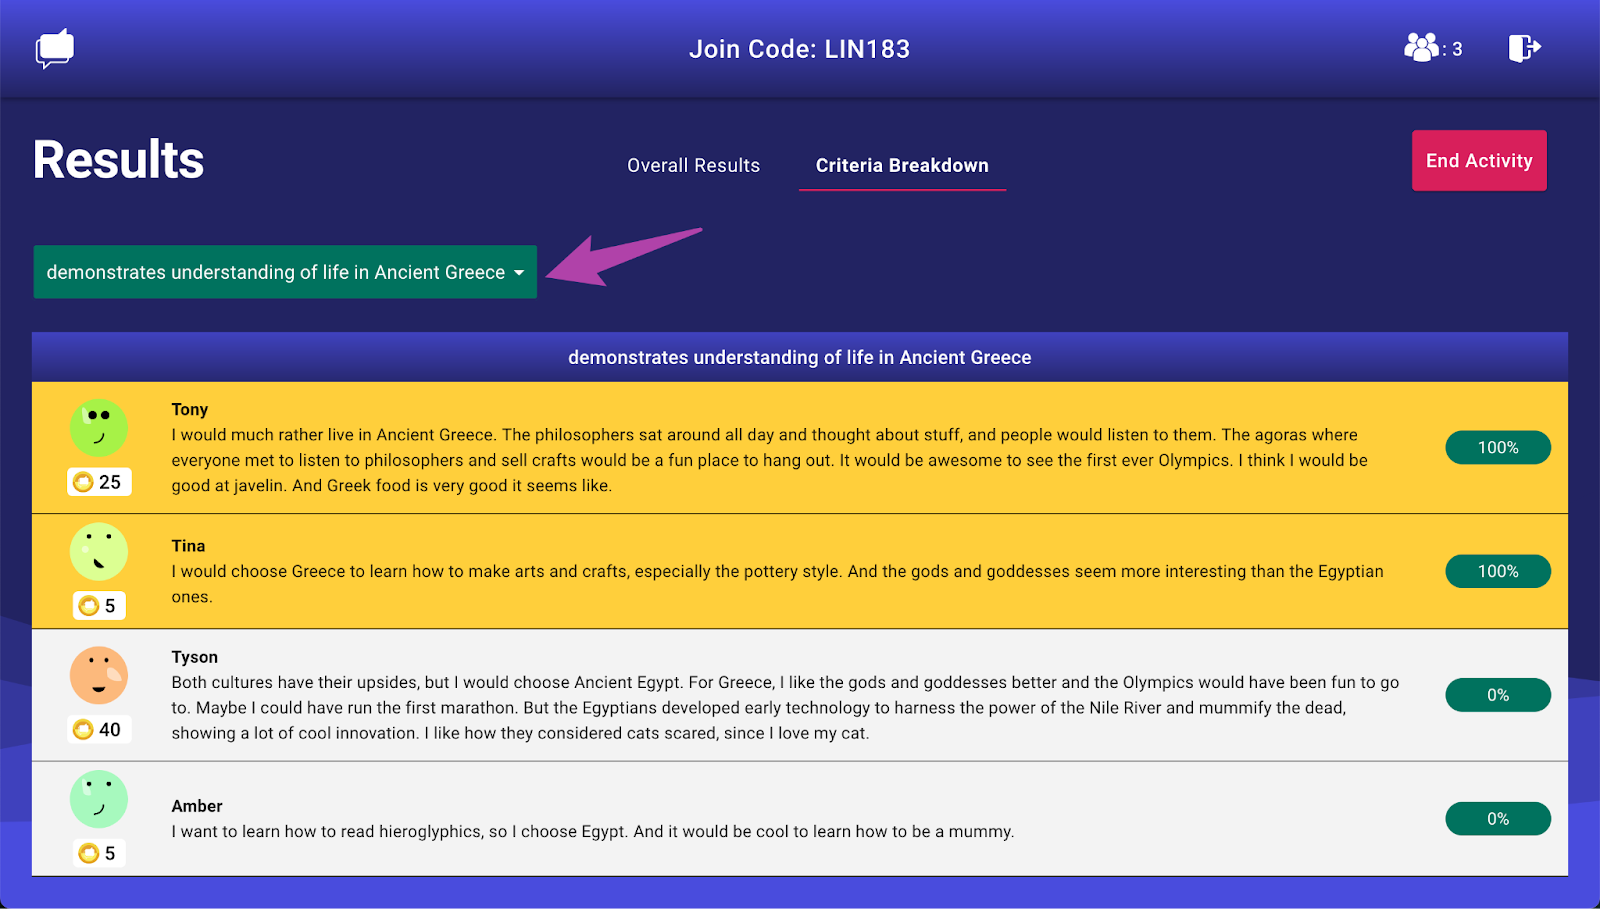
12. The Criteria Breakdown page displays how different responses are ordered by a a specific criterion. You can click the dropdown menu to view other feedback criteria.
This is a chance to discuss why different answers might rank differently across different criteria and to have a conversation about which criteria seems more important for the current question.
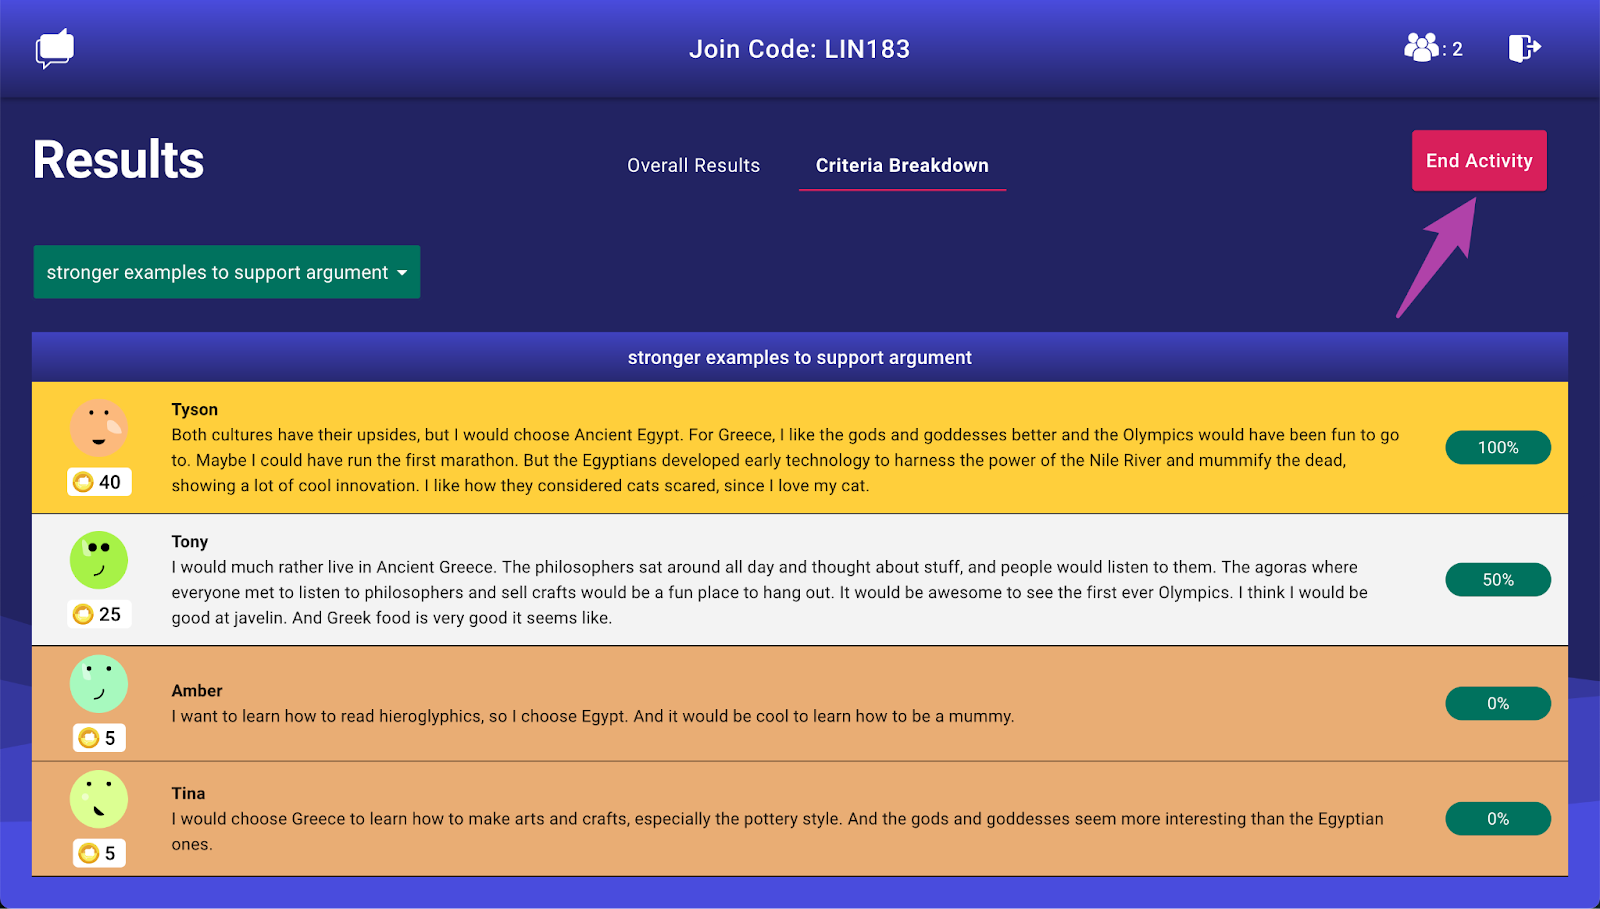
13. When the activity and discussion has concluded, click “End Activity.” You can click “Download Responses” to get a PDF of all student responses for later viewing.
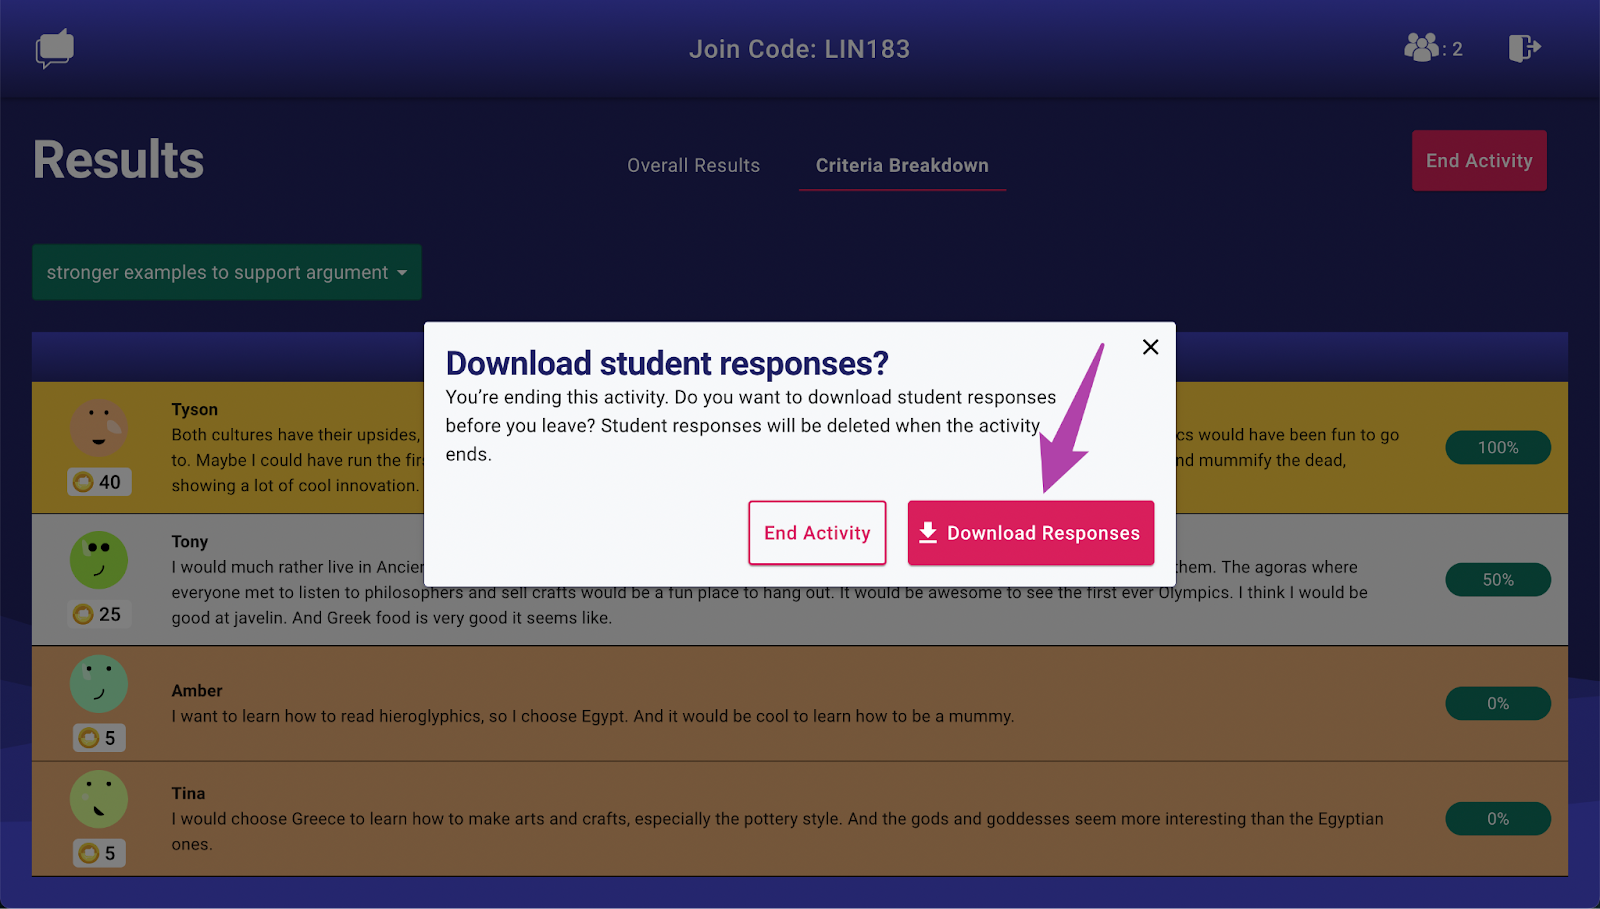
Nice! You’ve completed your first Short Answer activity and brought a fun, engaging peer feedback activity to your class.